As I had to install and configure PowerPivot in my new farm, I thought that I can share the steps with you.
Pre-Requisites:
1) Must have one or more SharePoint web applications that are configured for classic mode authentication.
2) PowerPivot data access will only work if the web application supports classic mode authentication.
3) SharePoint 2010 SP2 must be installed before you can configure PowerPivot for SharePoint.
Installation Steps
Step 1) Mount the SQL Server Installables in the SharePoint farm's app server or any other server that is in which you want to install PowerPivot. Run the Setup.exe , it will launch SQL Server Installation Center and click on Instalation -> New Installation or add features to an existing installation.

Step 2) You have to install , Setup Support files, and click Install. Make sure you correct the failures.


 Step 12) In the Installation Configuration screen , make sure you do not have any errors. Click Next


Pre-Requisites:
1) Must have one or more SharePoint web applications that are configured for classic mode authentication.
2) PowerPivot data access will only work if the web application supports classic mode authentication.
3) SharePoint 2010 SP2 must be installed before you can configure PowerPivot for SharePoint.
Installation Steps
Step 1) Mount the SQL Server Installables in the SharePoint farm's app server or any other server that is in which you want to install PowerPivot. Run the Setup.exe , it will launch SQL Server Installation Center and click on Instalation -> New Installation or add features to an existing installation.
Step 2) You have to install , Setup Support files, and click Install. Make sure you correct the failures.
Step 3)Choose Installation Type as New Installation and add shared features enter the Product Key accept License Terms and Click Next.
Step 4)Now in the Setup Role choose SQL Server PowerPivot for SharePoint -> Add PowerPivot for SharePoint to -> Existing Farm and Click Next.
Step 5)In this step , you will see pre-selected features and Click Next,
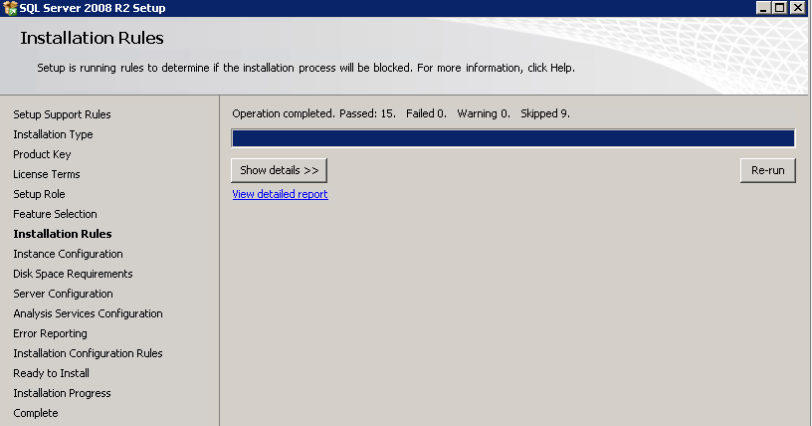
Step 6) Installation Rules will run and make sure you correct the failure and Click Next
Step 7) In the Instance Configuration screen you might want to accept the default named instance and instance ID. Click Next.
Step 8) It will check for Disk Space Requirements and Click Next.
Step 9) In this step, make sure you provide a dedicated domain account for SQL Server Analysis Services. If you try to provide built in domain accounts the wizard will not accept it. Click Next.
Step 10) In the Analysis Services Configuration screen specify your Analysis Services administrators(they will have unrestricted access to Analysis services). In the Data Directories and make necessary drive changes. Click Next
Step 11) Error Reporting screen will appear. Click Next.
Step 13) In the Ready to Install screen, review the content and click on Install. Installation will continue and you might be asked to restart the server.
Configuration Steps
Step 1) Once the installation is completed , launch CA -> System Settings > Manage services on server and check the SQL Server Analysis Services and SQL Server PowerPivot System Service are started. Also make sure Claims to Windows Token Service and Secure Store Service are started.
Step 2) Launch CA -> System Settings > Farm Management > Manage farm solutions. There will be two solutions Powerpivotfarm.wsp and Powerpivotwebapp.wsp. Out of which Powerpivotfarm.wsp is globally deployed. The powerpivotwebapp.wsp is only deployed to SharePoint CA and you have to manually deploy Powerpivotwebapp.wsp to the web application in which you want to have PowerPivot.
Step 3) Creating the PowerPivot Service Application
Launch CA ->Application Management -> Service Applications- > Manage service applications. Click on New and select SQL Server PowerPivot Service Application.
Make sure that the “Add the proxy for this PowerPivot service application to the default proxy group” is checked.
Step 4) Configure Excel services and Secure Store. I have configured Excel services and Secure Store Services earlier , but there are lot of articles available for this.
Step 5) In your SharePoint Site-> SiteActions->Site Settings > Site Collection Administration > Site Collection Features-> Activate the PowerPivot Feature Integration for Site Collections feature.
You might want to check Step2 (To deploy Powerpivotwebapp.wsp to your SharePoint Site) before doing this step.
Step 6) In your SharePoint Site ->SiteActions->More Options->Choose PowerPivot Gallery and upload the Pivot Sheets and let the users use it.
Hope this helps you!!!
No comments:
Post a Comment
Note: Only a member of this blog may post a comment.